Wednesday, May 4, 2011

Oreo Truffles


The Young Women in our ward are doing a yard/bake sale to earn money for camp this weekend, SOOOO I thought I'd throw together some Oreo Truffles to help them out! Some of my sweet friends came over to help me with this project (I'm so grateful they did because it would have taken me 2 days by myself and we did it in 2 hours)! Thanks guys! Here's the recipe in case you want to whip some up!


Oreo Truffles

1 package of Oreos (I use Walmart brand)
1 8 oz pkg cream cheese (room temp)
1 1/2 pkg chocolate flavored almond bark

Place the Oreos in a bag, crush them with a rolling pin until fairly fine. In a large mixing bowl, place crushed Oreos and cream cheese. Mix together until completely combined. (If you have a Kitchenaid type mixer, I recommend using it in this step. Although you will miss out on a REALLY great arm workout)!
Use a cookie scoop/mellon baller to scoop balls on to a wax paper lined tray. Place full trays in the freezer for 10 min. After your truffles are chilled, drop one truffle at a time in melted almond bark (I melt mine in a microwave safe container in the nuker for about a minute and a half). Cover completely in chocolate and pull out with a fork letting the excess chocolate drip back into the bowl, thus conserving chocolate. Place on a clean sheet of parchment or wax paper and let stand until hardened.

Devour or store in air tight containers.

(We packaged the ones we made in food grade treat bags that I purchased at Walmart in the party section. Finished truffled should be stored in the fridge.)

Happy Oreo Truffling!

-The Domestic Diva

Saturday, April 30, 2011

The Domestic Disaster


It has been 2 months since my last Blog post. Not because I don't love blogging, but more for the fact that I have felt like the DOMESTIC DISASTER rather than the Domestic Diva. It seems like every year around March I just really struggle to find a positive outlook on life. This winter was NEVER ENDING and it seemed so were the blahs!

SPRING has arrived! The trees are green the sky is blue again and all is right with the world! I feel my soul starting to blossom once more. Perhaps my previously frozen river of creativity will flow once again!

-The Domestic Diva

Friday, February 11, 2011

New spin on an old classic! TOMATO SOUP!!!


Have ya ever wondered what that vegetable is in the store that looks kind of like celery but has a large bulb at the bottom and feathery green stuff coming out of the top? It's FENNEL (aka anise)! I had never tasted this strange creature until my mission in Italy. It is amazing and I thought I'd show you what you can do with it. Today we are going to make Tomato Fennel soup. I can't remember where I got the recipe, I don't have it written down anywhere, it is so easy I just remember it. So here ya go!


1- fennel bulb
1- medium onion
1-clove garlic
1- 28 oz can tomato pure' or crushed tomatoes
4-cups chicken broth (I use 4 chicken bullion cubes + 4 cups water )
1-tbsp olive oil
salt & pepper


Cut the top and bottom off the fennel bulb then dice it. Peel and dice the onion and garlic (I cheat and use bottled minced garlic which you can find in the produce section of a super market near you). Heat a your olive oil in a skillet over medium heat and toss in the fennel, onion and garlic and saute until tender and slightly caramel colored on the edges (3-5 min). Put your chicken broth in a blender and add the sauteed veggies. Blend the heck out of them. Meanwhile in a large pot pour your tomatoes in and heat over med heat. When your veggies are sufficiently pulverized, add the mixture to the tomatoes. Stir and bring to a slow boil. Serve and enjoy. You can garnish it with a piece of that funky feathery stuff from the fennel or sprinkle with cheese. This is a great soup with cheese sandwiches!


Enjoy!

-The Domestic Diva

Thursday, February 10, 2011

A "Fancy Trick" (By Audrey Fiack)

We were getting ready to go somewhere the other day and Audrey came up to me and said, "Wanna see my fancy trick?". Check out the link below to Youtube. I've tried to upload the video directly here on my blog with no luck.


http://www.youtube.com/watch?v=BE7BYYqA1e0

Thank you, Ms Terri and Ms Kim at First Presby Preschool of Charleston, WV you've made my life so much easier!! I am forever in your debt!

Wednesday, February 9, 2011

Pie Crust For Dummies


Hi, My name is Shalece fiack and I am a pie crust-aholic. Up until about 2 years ago I was scared to death to make pie crust because whenever I did, it would be too dry and fall apart before it made it into the pie pan. I shed many a tear over tried and FAILED attempts at making pie crust.
One day when we were living in Seattle, my friend Lauriann D. brought me a BEAUTIFUL blackberry pie whose crust was the a picture of perfection. She offered to show me how to make this FOOL PROOF crust! I was skeptical at first, but it really is as easy as she said it was. This crust has worked beautifully every time I make it and I have filled it with a number of different things! Here is just one of the many things you could do with this crust. My favorite part about it is that it doesn't CRISCO! Give it a try! I hope you will be as pleased with it as I have been!


Pie Crust

2 Cups flour
1 Tsp Salt
2/3 Cup vegetable oil
1/3 cup Ice water


In a large bowl mix flour and salt together then and add the vegetable oil and ice water. Mix with a fork until just combined. You will want to mix handle the dough as little as possible. Divide the mixture into 2 balls and put your bowl in the freezer for about 5 min. Roll each ball out between 2 pieces of wax paper. When you have one of the crusts rolled out, take off the top layer of wax paper and take the bottom piece (with the crust on it) and turn it over in your pie plate. Peel the wax paper off (the crust should be big enough to have about 1/4 inch hanging over the side of the pan. Fill with your favorite pie filling then place the other rolled out dough on the top (using the same method of rolling between the wax paper as you did on the bottom crust). Trim extra crust from around the edges and press the edges of the crust down with a fork our using your thumbs. Poke some holes in the top with a fork. Place pie on a baking sheet in the center of a preheated oven and bake according to your pie filling directions. ENJOY!!!

Below I have posted pictures of mini strawberry jam pies. These would be great for after-school snacks, a fancy dessert to serve company or just to satisfy a sweet tooth!

I rolled out the dough between wax paper and then used a 3" cookie cutter and got 12 circles out of each ball of dough. Put 1 TBSP strawberry jam in the center then placed the other 12 circles on top and pressed around the edges with a fork. Sprinkle with sugar and bake in a 375 degree oven and bake for 10 min. YUMMY!

-The Domestic Diva

Monday, February 7, 2011

Homemade Syrup


Got Pancakes? Here's a fantastically EASY syrup recipe that has been used for at least 3 generations in my family.

1 cup Sugar
1 cup Brown sugar
1 tsp Vanilla
1 cup water

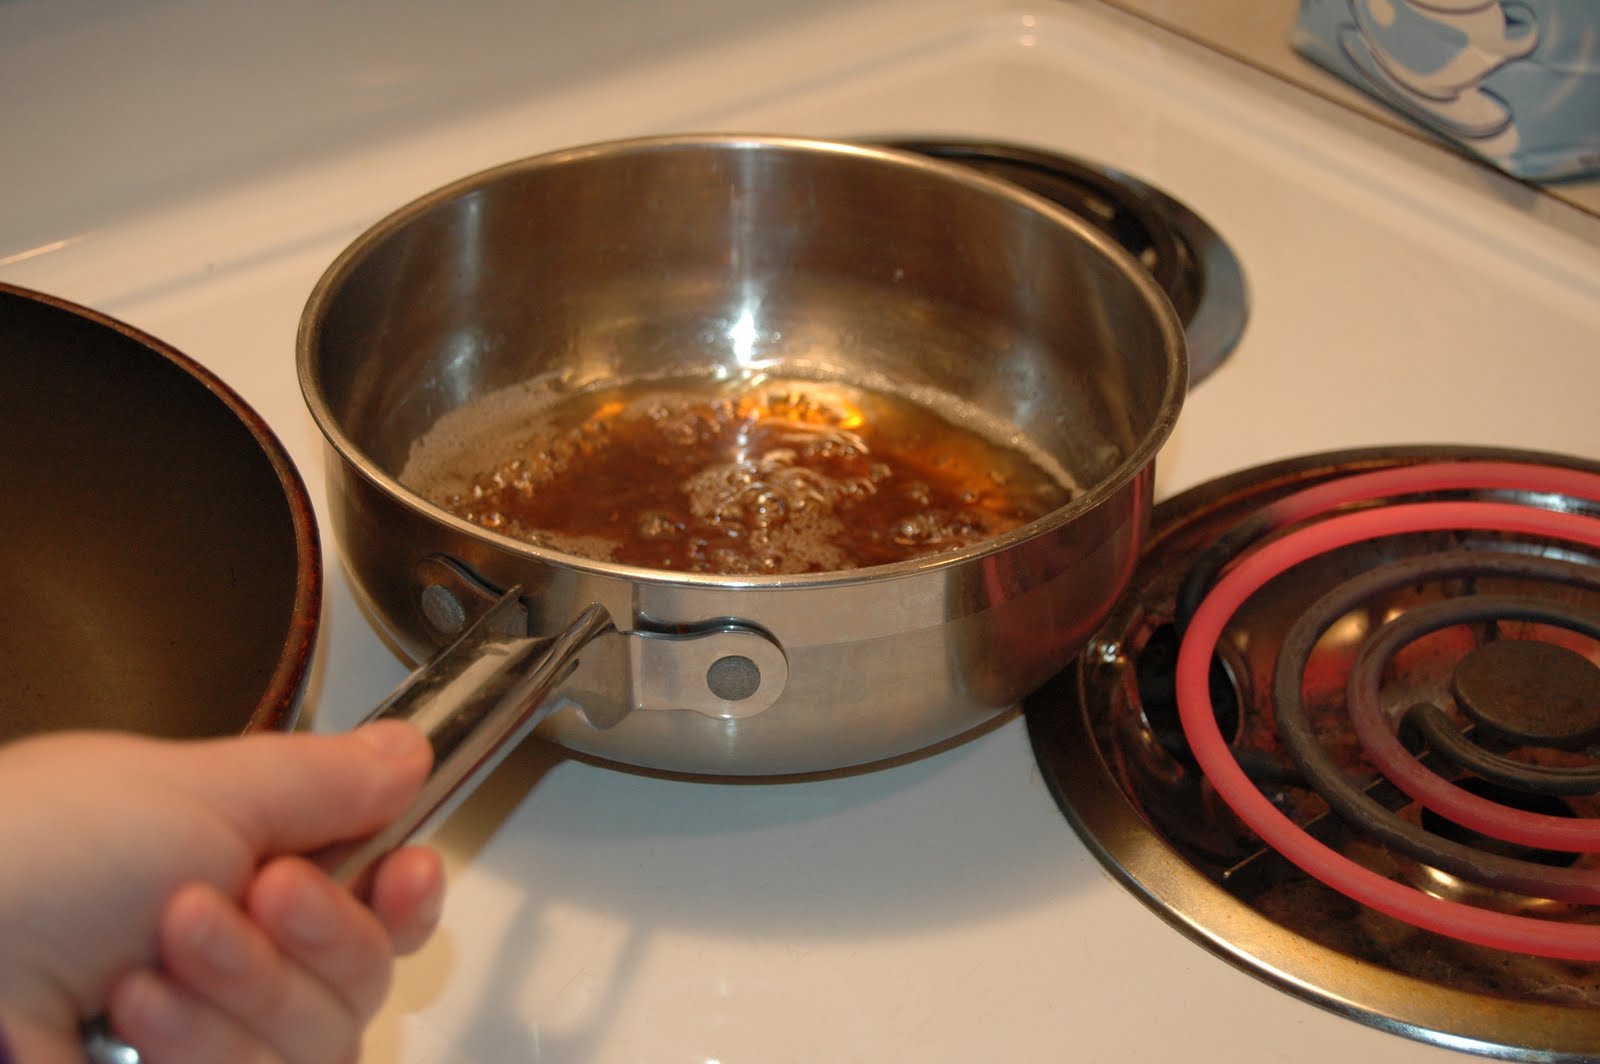
Put all the ingredients in a sauce pan over high heat. Stir and bring to a rolling boil. Remove from heat. Pour into a glass measuring cup and serve over your favorite pancakes or waffles! Store left overs in the fridge in a glass or plastic container after it has cooled completely.

Have the greatest Monday of your life!

-The Domestic Diva

Friday, February 4, 2011

Inside My Fridge...


Since we are getting to know each other now, I think it's time I introduced you to my fridge! Don't be afraid! Today is "shopping list/food inventory/fridge wipe out day"! I can't stand having messy, nasty fridge (for very long), so here is how I keep mine clean and organized.

Baskets! I have 2 metal baskets (purchased from IKEA) and then some smaller dollar store baskets. I leave the top shelf open for bottles of milk, pickles, egg whites, sauerkraut and whatnot.

My second shelf has a metal basket that have 2 smaller dollar store baskets inside. This shelf is reserved for meat and dairy products. I keep cheeses in one of the small baskets and then lunch meats in the other small basket.

The bottom shelf basket is reserved for bread, eggs and left-overs. Every Friday I take the baskets out and wipe the shelfs down with a dish cloth. then I organize the items in the baskets. Any left-overs that have been in the fridge for 3 or more days get donated to Oscar the Grouch. I see what I am getting low on in the meat/dairy department and put it on my shopping list. The baskets are put back in the fridge and that's it! I also go through my fruit/veggie drawer which is usually almost empty as I only purchase fruit/veggies I need for my menu plan. I hate to see produce go bad! Occasionally I will find something nasty in there, but I clean it out weekly so it is never vomit inducing.

I keep an open box of baking soda in the door of the fridge to keep things smelling fresh.

Hope you all have a FANTASTIC weekend!

-The Domestic Diva