Wednesday, February 9, 2011

Pie Crust For Dummies


Hi, My name is Shalece fiack and I am a pie crust-aholic. Up until about 2 years ago I was scared to death to make pie crust because whenever I did, it would be too dry and fall apart before it made it into the pie pan. I shed many a tear over tried and FAILED attempts at making pie crust.
One day when we were living in Seattle, my friend Lauriann D. brought me a BEAUTIFUL blackberry pie whose crust was the a picture of perfection. She offered to show me how to make this FOOL PROOF crust! I was skeptical at first, but it really is as easy as she said it was. This crust has worked beautifully every time I make it and I have filled it with a number of different things! Here is just one of the many things you could do with this crust. My favorite part about it is that it doesn't CRISCO! Give it a try! I hope you will be as pleased with it as I have been!


Pie Crust

2 Cups flour
1 Tsp Salt
2/3 Cup vegetable oil
1/3 cup Ice water


In a large bowl mix flour and salt together then and add the vegetable oil and ice water. Mix with a fork until just combined. You will want to mix handle the dough as little as possible. Divide the mixture into 2 balls and put your bowl in the freezer for about 5 min. Roll each ball out between 2 pieces of wax paper. When you have one of the crusts rolled out, take off the top layer of wax paper and take the bottom piece (with the crust on it) and turn it over in your pie plate. Peel the wax paper off (the crust should be big enough to have about 1/4 inch hanging over the side of the pan. Fill with your favorite pie filling then place the other rolled out dough on the top (using the same method of rolling between the wax paper as you did on the bottom crust). Trim extra crust from around the edges and press the edges of the crust down with a fork our using your thumbs. Poke some holes in the top with a fork. Place pie on a baking sheet in the center of a preheated oven and bake according to your pie filling directions. ENJOY!!!

Below I have posted pictures of mini strawberry jam pies. These would be great for after-school snacks, a fancy dessert to serve company or just to satisfy a sweet tooth!

I rolled out the dough between wax paper and then used a 3" cookie cutter and got 12 circles out of each ball of dough. Put 1 TBSP strawberry jam in the center then placed the other 12 circles on top and pressed around the edges with a fork. Sprinkle with sugar and bake in a 375 degree oven and bake for 10 min. YUMMY!

-The Domestic Diva

Monday, February 7, 2011

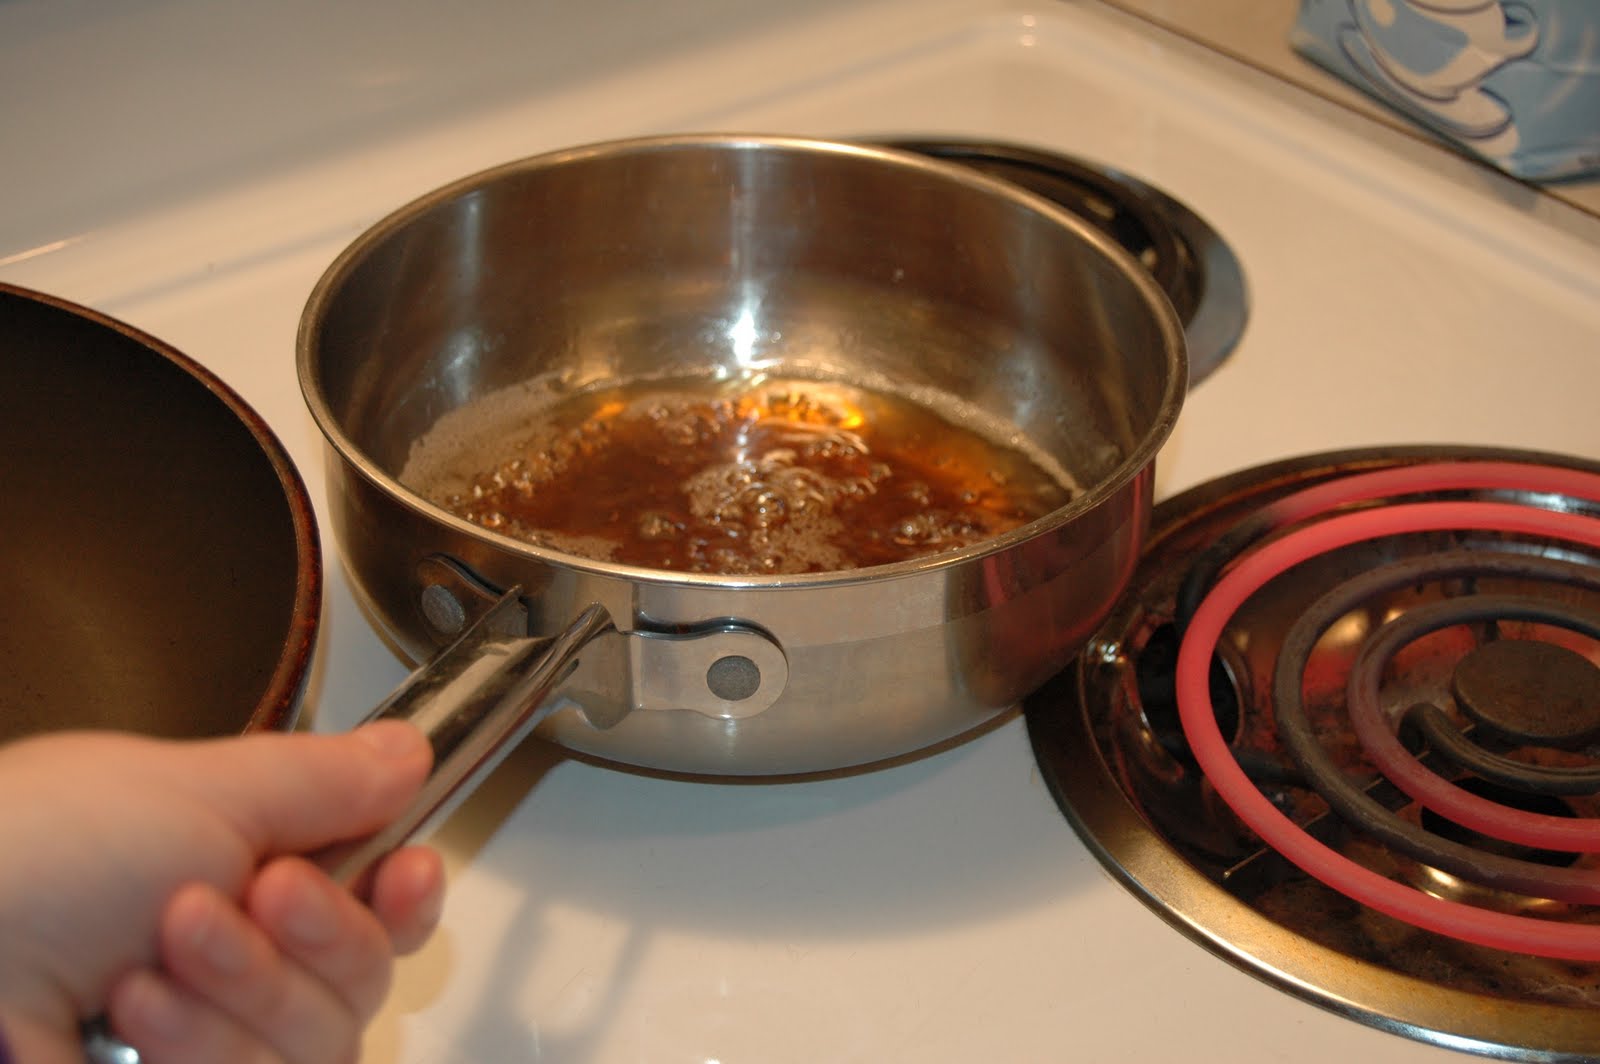
Homemade Syrup


Got Pancakes? Here's a fantastically EASY syrup recipe that has been used for at least 3 generations in my family.

1 cup Sugar
1 cup Brown sugar
1 tsp Vanilla
1 cup water

Put all the ingredients in a sauce pan over high heat. Stir and bring to a rolling boil. Remove from heat. Pour into a glass measuring cup and serve over your favorite pancakes or waffles! Store left overs in the fridge in a glass or plastic container after it has cooled completely.

Have the greatest Monday of your life!

-The Domestic Diva

Friday, February 4, 2011

Inside My Fridge...


Since we are getting to know each other now, I think it's time I introduced you to my fridge! Don't be afraid! Today is "shopping list/food inventory/fridge wipe out day"! I can't stand having messy, nasty fridge (for very long), so here is how I keep mine clean and organized.

Baskets! I have 2 metal baskets (purchased from IKEA) and then some smaller dollar store baskets. I leave the top shelf open for bottles of milk, pickles, egg whites, sauerkraut and whatnot.

My second shelf has a metal basket that have 2 smaller dollar store baskets inside. This shelf is reserved for meat and dairy products. I keep cheeses in one of the small baskets and then lunch meats in the other small basket.

The bottom shelf basket is reserved for bread, eggs and left-overs. Every Friday I take the baskets out and wipe the shelfs down with a dish cloth. then I organize the items in the baskets. Any left-overs that have been in the fridge for 3 or more days get donated to Oscar the Grouch. I see what I am getting low on in the meat/dairy department and put it on my shopping list. The baskets are put back in the fridge and that's it! I also go through my fruit/veggie drawer which is usually almost empty as I only purchase fruit/veggies I need for my menu plan. I hate to see produce go bad! Occasionally I will find something nasty in there, but I clean it out weekly so it is never vomit inducing.

I keep an open box of baking soda in the door of the fridge to keep things smelling fresh.

Hope you all have a FANTASTIC weekend!

-The Domestic Diva

Thursday, February 3, 2011

Diva Daughters


Feeling really blessed to have a wonderful husband and three beautiful daughters today. Some days it feels like I am treading oatmeal and never getting anywhere then I stop and listen to the joyful sounds and it makes it all worth it.

Silence is golden, but the sound of happy children is priceless!

-The Domestic Diva

Wednesday, February 2, 2011

BACON


Bacon + Broiler pan + 350 degree oven + 10 minutes = Perfection Any questions?

Tuesday, February 1, 2011

Goodwill "Hunting"


Audrey had preschool this morning downtown Charleston at 9:15 and Zumba doesn't start till ten, so I decided to kill some time doing some Goodwill Hunting.

I love Goodwill. I think my addiction to Goodwill began when a good friend of mine in Seattle introduced me to the Goodwill there. She dresses so cute and I comment on an outfit she was wearing one day and she said "$1.29"! I didn't believe her!!!! So she took me there one day and she showed me how to shop the Goodwill. Thanks R.A.!!!!

Our Goodwill in Charleston is AWESOME! They have all sorts of nice furniture (some of it IS a little over priced...) but what I go for is FABRIC! ENDLESS RACKS OF FABRIC for craft projects! No, it's not your typical fabric store with fabric on bolts that you cut into yards, but you get it in pants, shirts, skirts and dresses! Every week, there is a different color tag that is %50 off and another color tag that is $1.00. So I just pick through and ONLY find the $1 tags! Perfect for fun, easy, and environmentally friendly craft projects! Izzy and I found some fantastic fabrics for a project that I will feature on the blog in the near future (keep your eyes out for it)!
Ha! Just realized that the coat that Isabel is wearing in these pictures was purchased at this very Goodwill for under $5! I LOVE IT!!!

Happy Hunting!

-The Domestic Diva

Monday, January 31, 2011

Tortillas!!!


"What's for dinner?" The dreaded question that plaques mothers and wives everywhere! Need something quick, easy and delicious for dinner tonight? How about home made tortillas? You can fill them with cheese, meat, beans, nutella (well maybe not for dinner), or eggs. Talk about versatile! Here's the recipe that I use and I bet ya have all the ingredients in your cupboards right now!


Here's what you you will need:

2 cups flour (I use half white, half wheat)
1 teaspoon salt
1/4 cup vegetable oil
3/4 cup warm water (2/3 cup if you are using all white flour)

I put my frying pan over medium heat before I start mixing the dough then it is good and hot when you have your first tortilla rolled out.

Put your flour and salt in a good size mixing bowl and mix together with a fork (I am sure you could do all this in a mixer but I do it by hand because I don't have one). Next add the oil and water and mix that together and when it is combined I kneed it on a lightly floured surface until it is smooth and soft (2-3 min). Divide into 8 equalish balls and let rest for a 2-3 min. Roll out into 8" tortillas turing and dusting with flower as you go so they don't stick to your surface.

When your first tortilla is rolled out, throw it into your hot skillet. You can start rolling out your next tortilla as the first cooks. When you get some nice bubbles puffing up on the cooking tortilla (about 45 seconds-1 min) flip it over. There should be brownish spots on the cooked side. Cook on the second side for about 30 seconds and then put it on a plate. Repeat with all 8 balls (you may need to turn you pan down if the flour in the bottom starts to burn).

Fill your beautiful homemade tortillas with whatever you want and DEVOUR! Leftover tortillas can be stored in the fridge for up to 2 weeks and in the freezer for a month. Ours NEVER last that long!

Happy Monday, everybody!

-The Domestic Diva

(A big thanks to my friend Katie W. who helped bring these tortillas to the table!)